To set up and use LLHOST INC. Private VPN server on Linux you need to follow 5 simple steps:
- Order a Private VPN Server(PVS) or request a free 24-hour trial in a ticket to our Technical Support department.
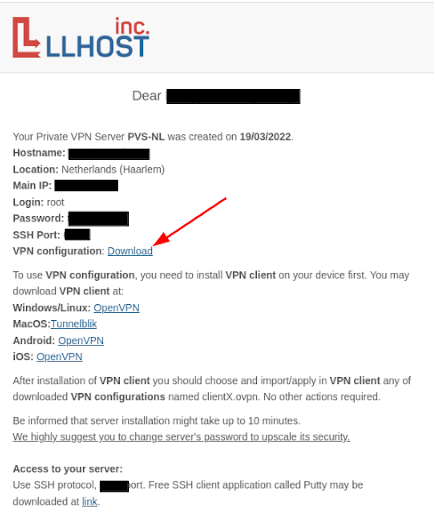
- Download the VPN configuration file from the email sent to you by LLHOST INC.
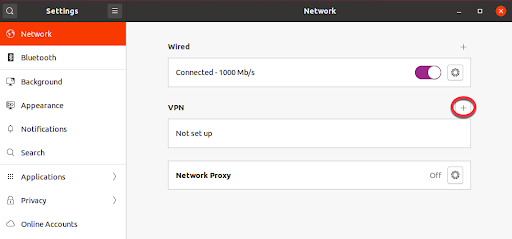
- Go to Device Settings, click on the Network tab, and find the VPN tab, click on the plus button.
If you do not find this section in the settings:
You must enter the following commands in the terminal:sudo apt-get -y install network-manager-openvpn
If your desktop environment is GNOME, you should also enter the following command:sudo apt-get -y install network-manager-openvpn-gnome
After that do a service restart:sudo systemctl restart NetworkManager.service
If your distribution is CentOS, type the following commands:dnf install epel-releasednf install NetworkManager-openvpn
In case of GNOME:dnf install NetworkManager-openvpn-gnomesystemctl restart NetworkManager.service Import the previously downloaded configuration file into the client, as shown in the pictures: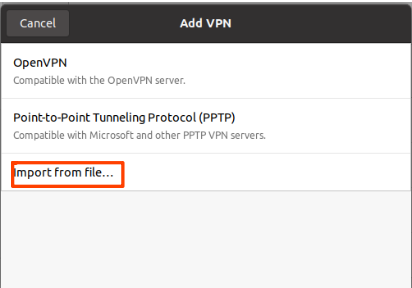
Select the downloaded configuration file and click Add.

5. Click the connect button and use the VPN on your own Private VPN server.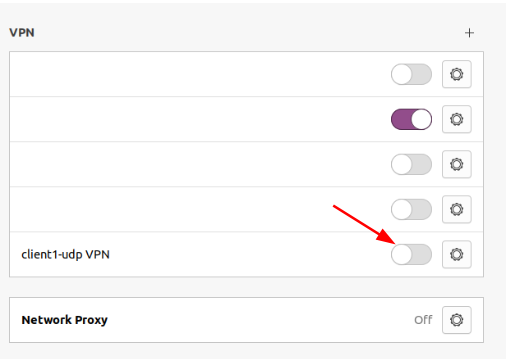
Useful information:
- You can check your VPN IP address and GEO positioning on the What is My IP website when the VPN is connected.
- If you are an advanced user, you can access your Private VPN Server via SSH using the credentials from the appropriate email from LLHOST INC.
- You can use different configurations to separately manage devices or users within your Private VPN Server.
- Your Private VPN Server will operate under a no-logging policy, which means that neither your traffic nor your data is saved or logged.
We will be happy to answer any questions you have - LLHOST INC. Technical Support Department is available 24/7/365.