To setup and use Private VPN Server from LLHOST INC. on Windows you need to follow 5 simple steps:
- Order a Private VPN Server on our website or request a free 24h trial in a ticket to our Technical Support Department
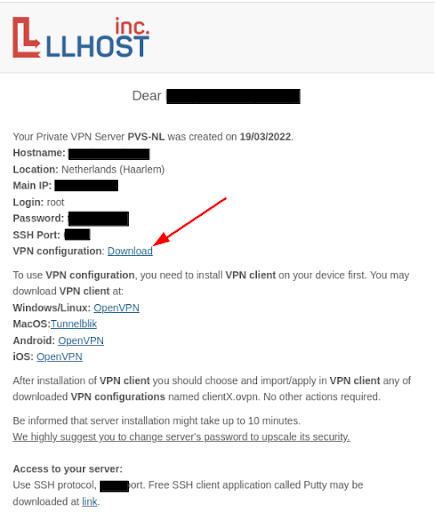
- Download a VPN configuration from the email sent to you by LLHOST INC.
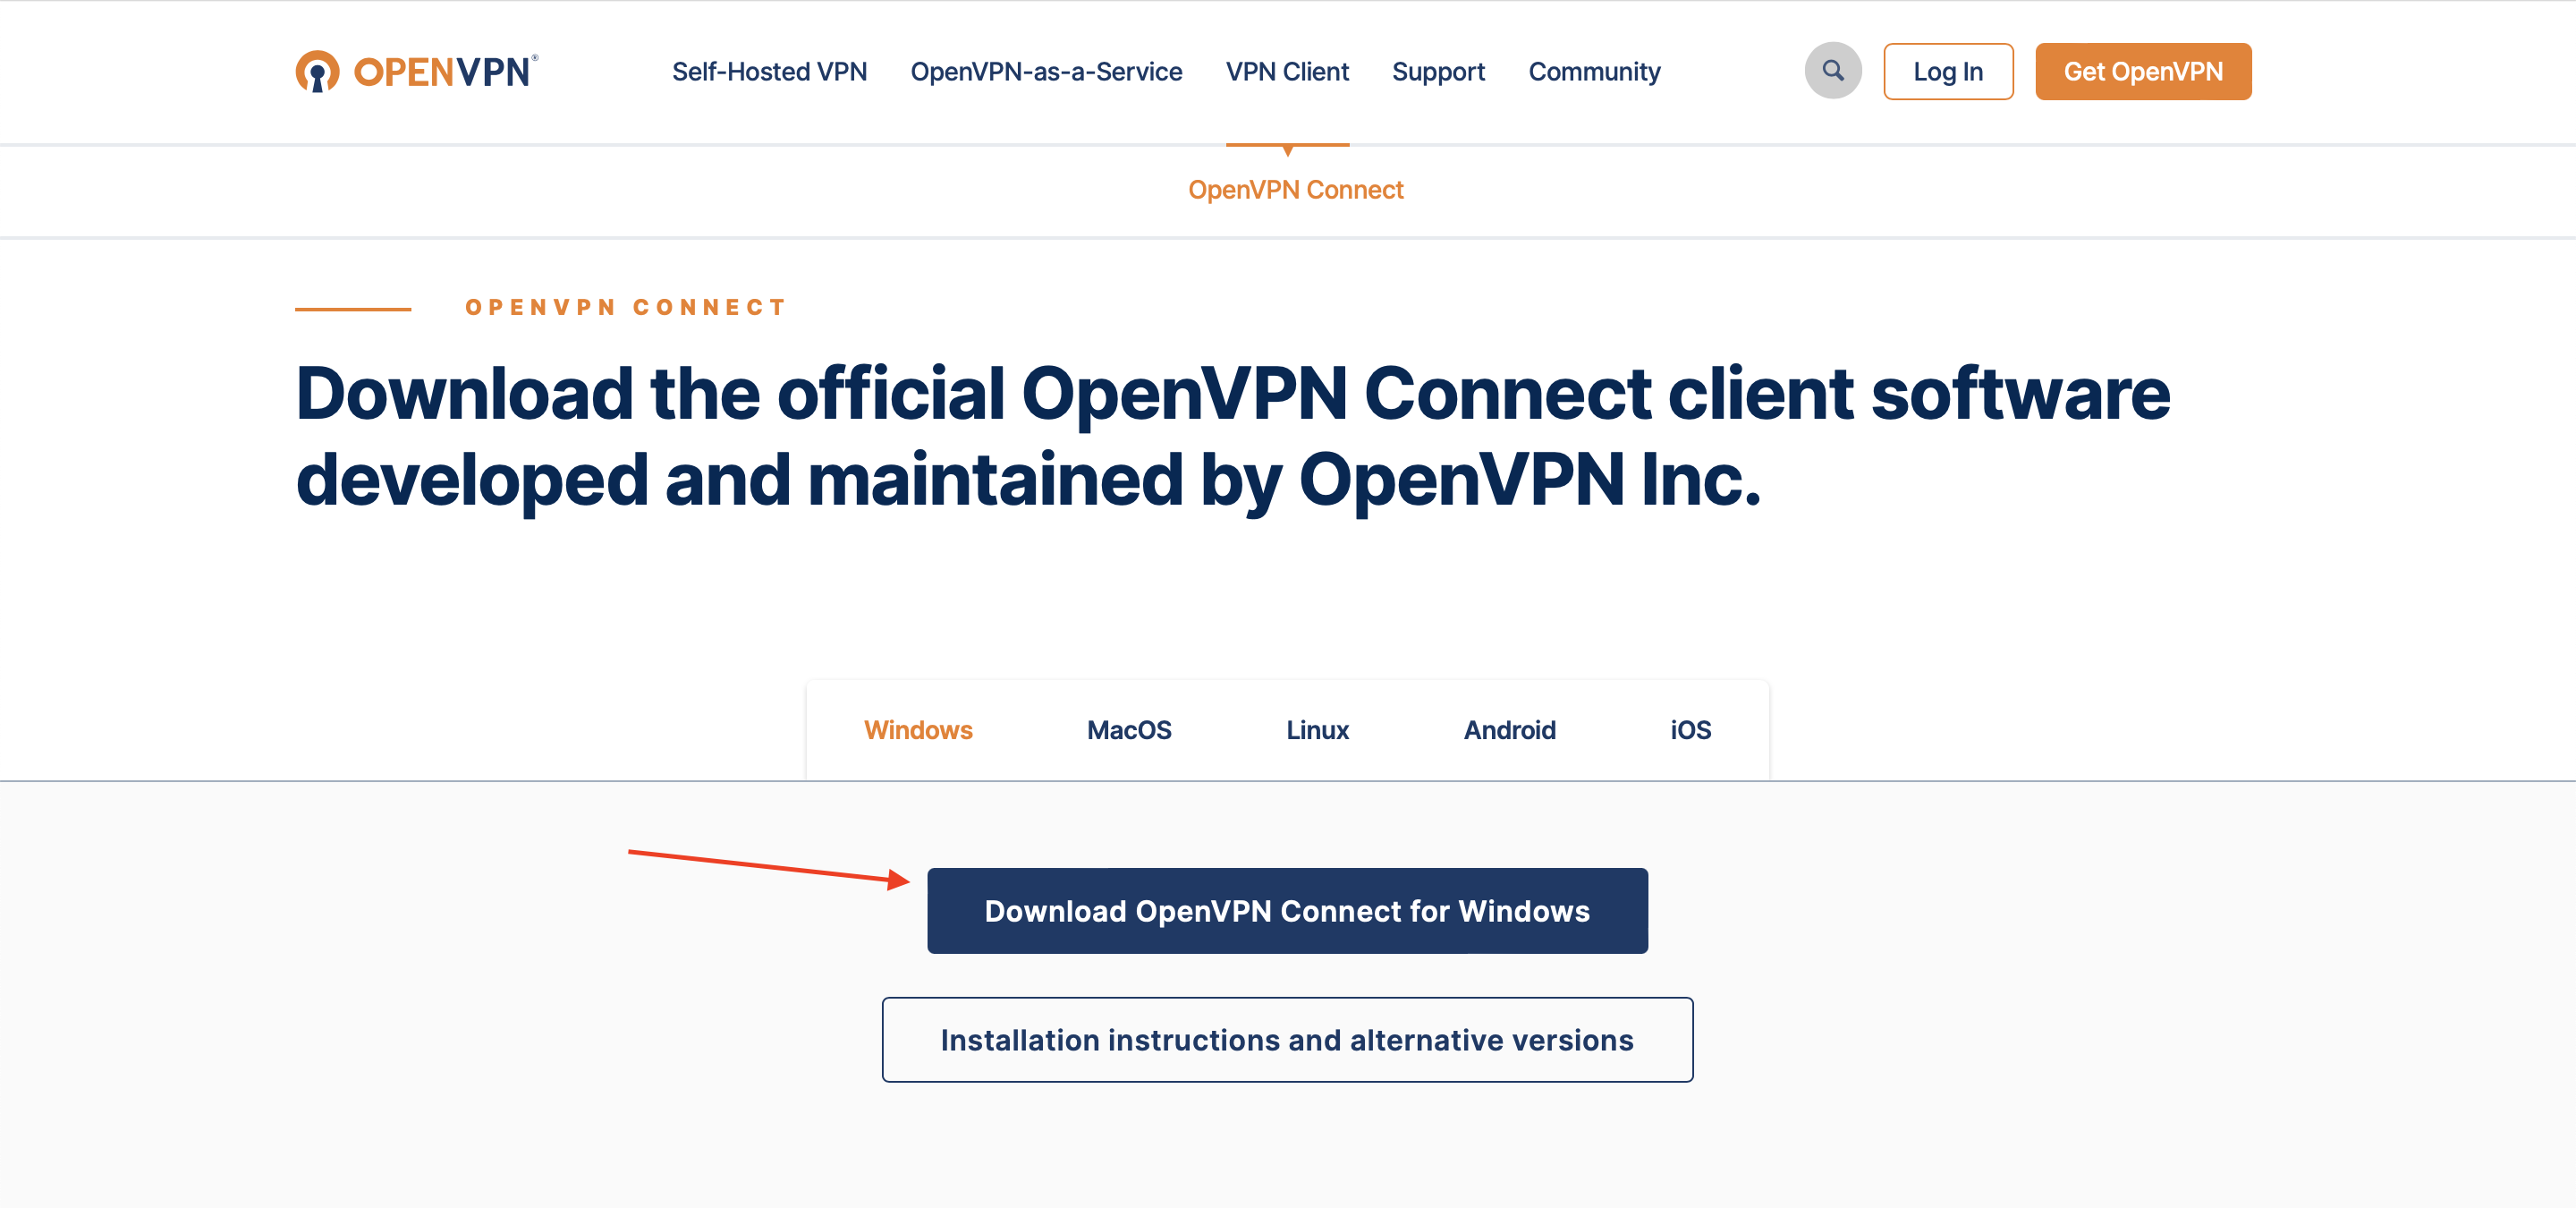
- Download OpenVPN client on your device at link: OpenVPN
- Import the configuration file to the client by doing the following:
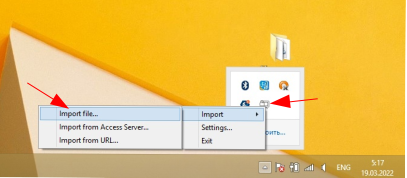
- After installing the OpenVPN client in the tray or hidden icons, the OpenVPN GUI will be displayed, on which you need to right-click, select "Import" and click on the "Import File" section and select the downloaded configuration file with the .ovpn extension, as shown in picture:
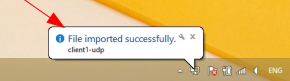
- If the configuration file is added without errors, then a notification will appear as in the picture:
- After installing the OpenVPN client in the tray or hidden icons, the OpenVPN GUI will be displayed, on which you need to right-click, select "Import" and click on the "Import File" section and select the downloaded configuration file with the .ovpn extension, as shown in picture:
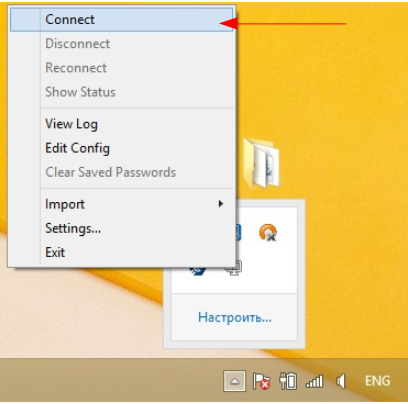
- Right-click on the OpenVPN GUI, select "Connect" and use the VPN on your own private VPN server as shown in the picture:
Useful information:
- You may check your VPN IP address and GEO positioning on website What is My IP when VPN is connected.
- If you are an advanced user, you may access your Private VPN Server via SSH using credentials from the respective email from LLHOST INC.
- You may use different configurations to manage your devices or users separately within your Private VPN Server
- Your Private VPN Server will work under no-logs policy, which means that none of your traffic or data is stored or logged
Please do not hesitate to ask any question - LLHOST INC. Technical Support Department is available 24/7/365